
CASTING DIRECTOR: How do I upload and manage sides?
This article explains how Casting Directors can upload, manage, and view sides (scripts) for specific roles using the Embershot integration within Cast It Systems.
Important Information About Embershot
Sides on Cast It are provided by Embershot. Please note the following details regarding your account and files:
Passwords: Your Embershot and Cast It passwords should be the same. If they are not, please use the "forgot password" feature on the Embershot login page to reset your password.
Watermarks on Files: Sides downloaded from an Open Call page or Project URL are automatically watermarked with the recipient's email address. Casting Directors can adjust these watermarks directly in their Embershot account.
Default Settings: You can adjust your default settings in Embershot to apply to future Cast It uploads.
Support: Additional help can be found in Embershot's knowledge center.
How to Upload Sides
Log in to your Cast It Systems profile.
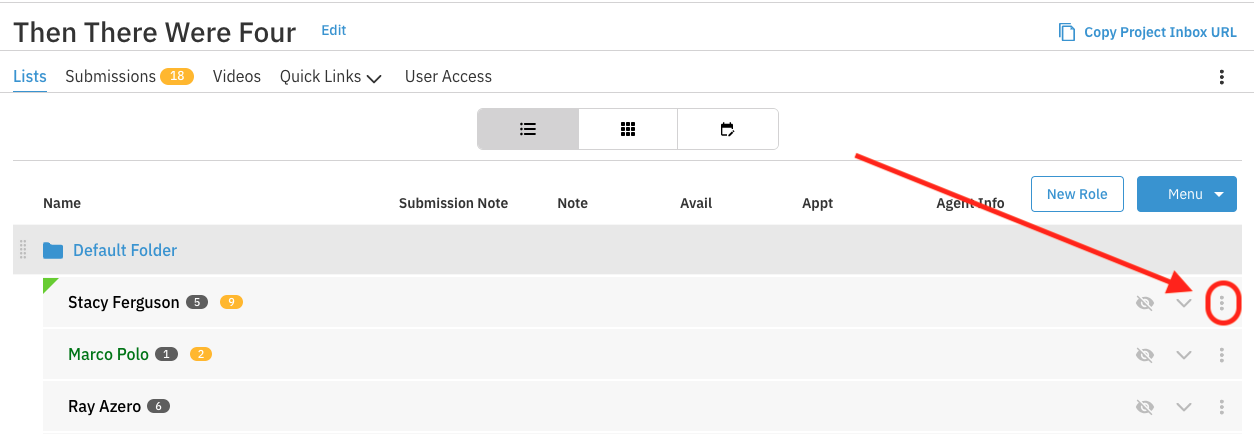
Click into your project so you are viewing the list of roles.
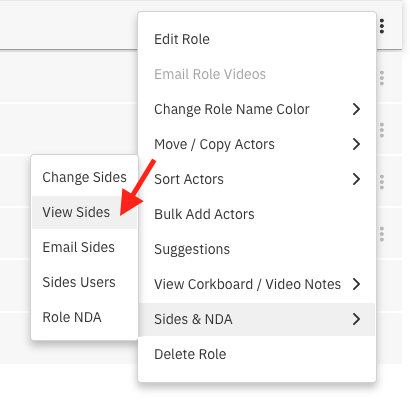
On the right side of the page, select the three vertical dots that correspond with the role you want to upload sides for.
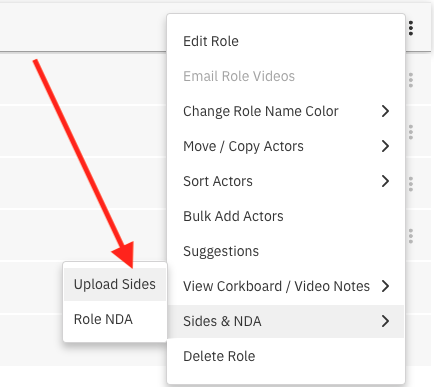
Hover over Sides & NDA and select the Upload Sides option from the menu.
Select the blue select file to upload button in the pop-up window.
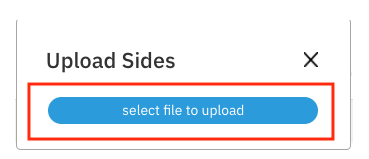
Find and select the sides file from your computer. Note: These must be in PDF format.
Once uploaded, the pop-up will state "Upload complete!"
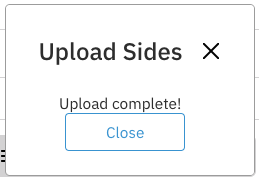
You have now successfully added sides to that particular role. You can repeat this process for any other roles in the project.
How to View or Change Sides
Sides can be updated or removed at any time during the casting process.
Select the three dots that correspond with the role you want to view sides for.
Select the Sides option, and then choose View Sides or Change Sides.
How to Email Sides to Talent & Representatives
The Email Sides feature lets you send sides directly to talent or talent representatives via email from within Cast It. Rather than distributing script pages outside the platform, you can send them in just a few clicks — with control over exactly how and when recipients can access the file.
Email Sides Settings and Options
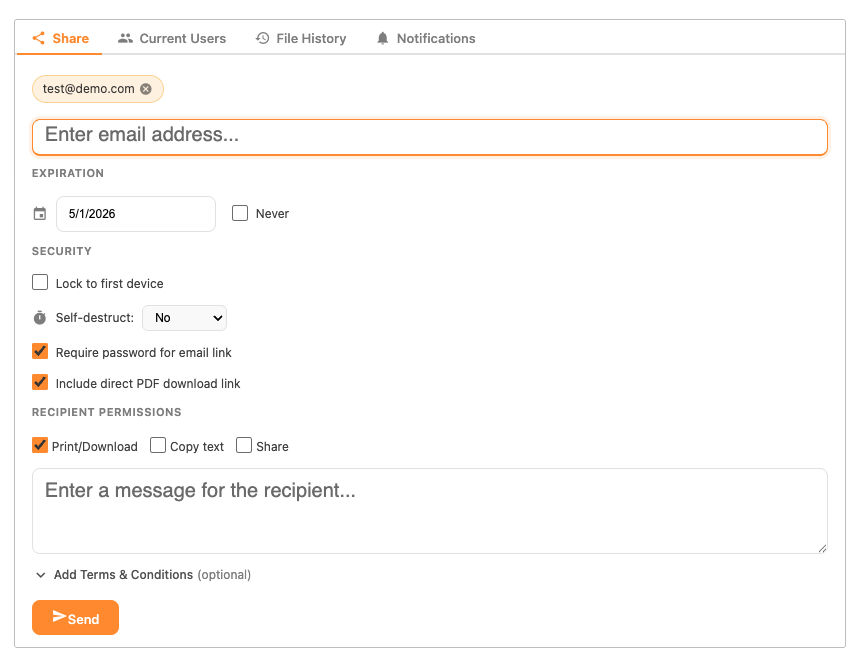
When sending sides, you have access to the following settings:
Recipient Selection: Choose to send to an individual talent, a selected group, or all talent associated with a session or role.
Watermarking: Automatically adds the recipient's email address to each page of the sides. This helps protect against unauthorized sharing.
Expiration / Access Window: Set a date and time after which the sides file can no longer be accessed. Useful when sides are sensitive and should only be available for a limited time before the audition.
Custom Message: Add a personal note to the body of the email — great for including audition instructions or any additional context for the talent.
How Recipients Receive and Download Sides
Once you send the sides, here is what the experience looks like for the talent:
Email Delivery: The talent receives an email in their inbox from Cast It on behalf of your casting office. The email includes your custom message (if added) and a clear button or link to access the sides.
Accessing the File: The talent clicks the link to open the file. If an expiration date was set, the link will only work until that deadline.
Downloading: The sides open as a PDF in the browser or download directly to their device, depending on their settings.
Troubleshooting
For any issues with the Sides, please email Embershot directly at support@embershot.com.