
CASTING DIRECTOR: What are the different Access Levels in Cast It Systems?
This article provides a complete description of the access levels on Cast It Systems, including permissions for videos, specific roles, projects, series, and company accounts.
Access Levels Overview
There are several distinct access levels within a project. Only two levels (Administrator and Location Casting) allow users to upload videos.
Administrator: This gives the user full access to the project. They can create roles, upload videos, move roles, grant access to other users, edit the access levels of other users, edit the access levels of roles/videos, and view everything within the project.
Location Casting: Administrator Access to their own roles but cannot view any other role by default. (See the Location Casting section below for more details).
Auditions: Viewing and commenting only. Access is limited to videos in roles marked for Auditions, Review, and Approval.
Review: Viewing and commenting only. Access is limited to videos in roles marked for Review and Approval.
Approval: Viewing and commenting only. Access is limited to videos in roles marked for Approval.
Cast Lists: Access to view all lists. No video access.
Cast List and Auditions: Auditions Access combined with the ability to view all lists.
Access Levels for Videos within Roles
Different roles can be made viewable for users of specific access levels. Users with Administrative Access to the Project can change who has access to videos within a role. These can be set either on the Add/Edit User Access Page or on the Videos page.
Note: The default role access level is set to "Auditions."
Administrator: Only Users with Administrator access on the project or Series will be able to see videos in roles set to this access level.
Auditions: Users with Administrator access or Auditions access to the project or series will be able to see videos in roles set to this access level.
Review: Users with Administrator, Auditions, or Review access to the project or series will be able to see videos in roles set to this access level.
Approval: Users with Administrator, Auditions, Review, or Approval access to the project or series will be able to see videos in roles set to this access level.
How to Set Role Video Access Levels
To change which users can see specific roles, follow these steps:
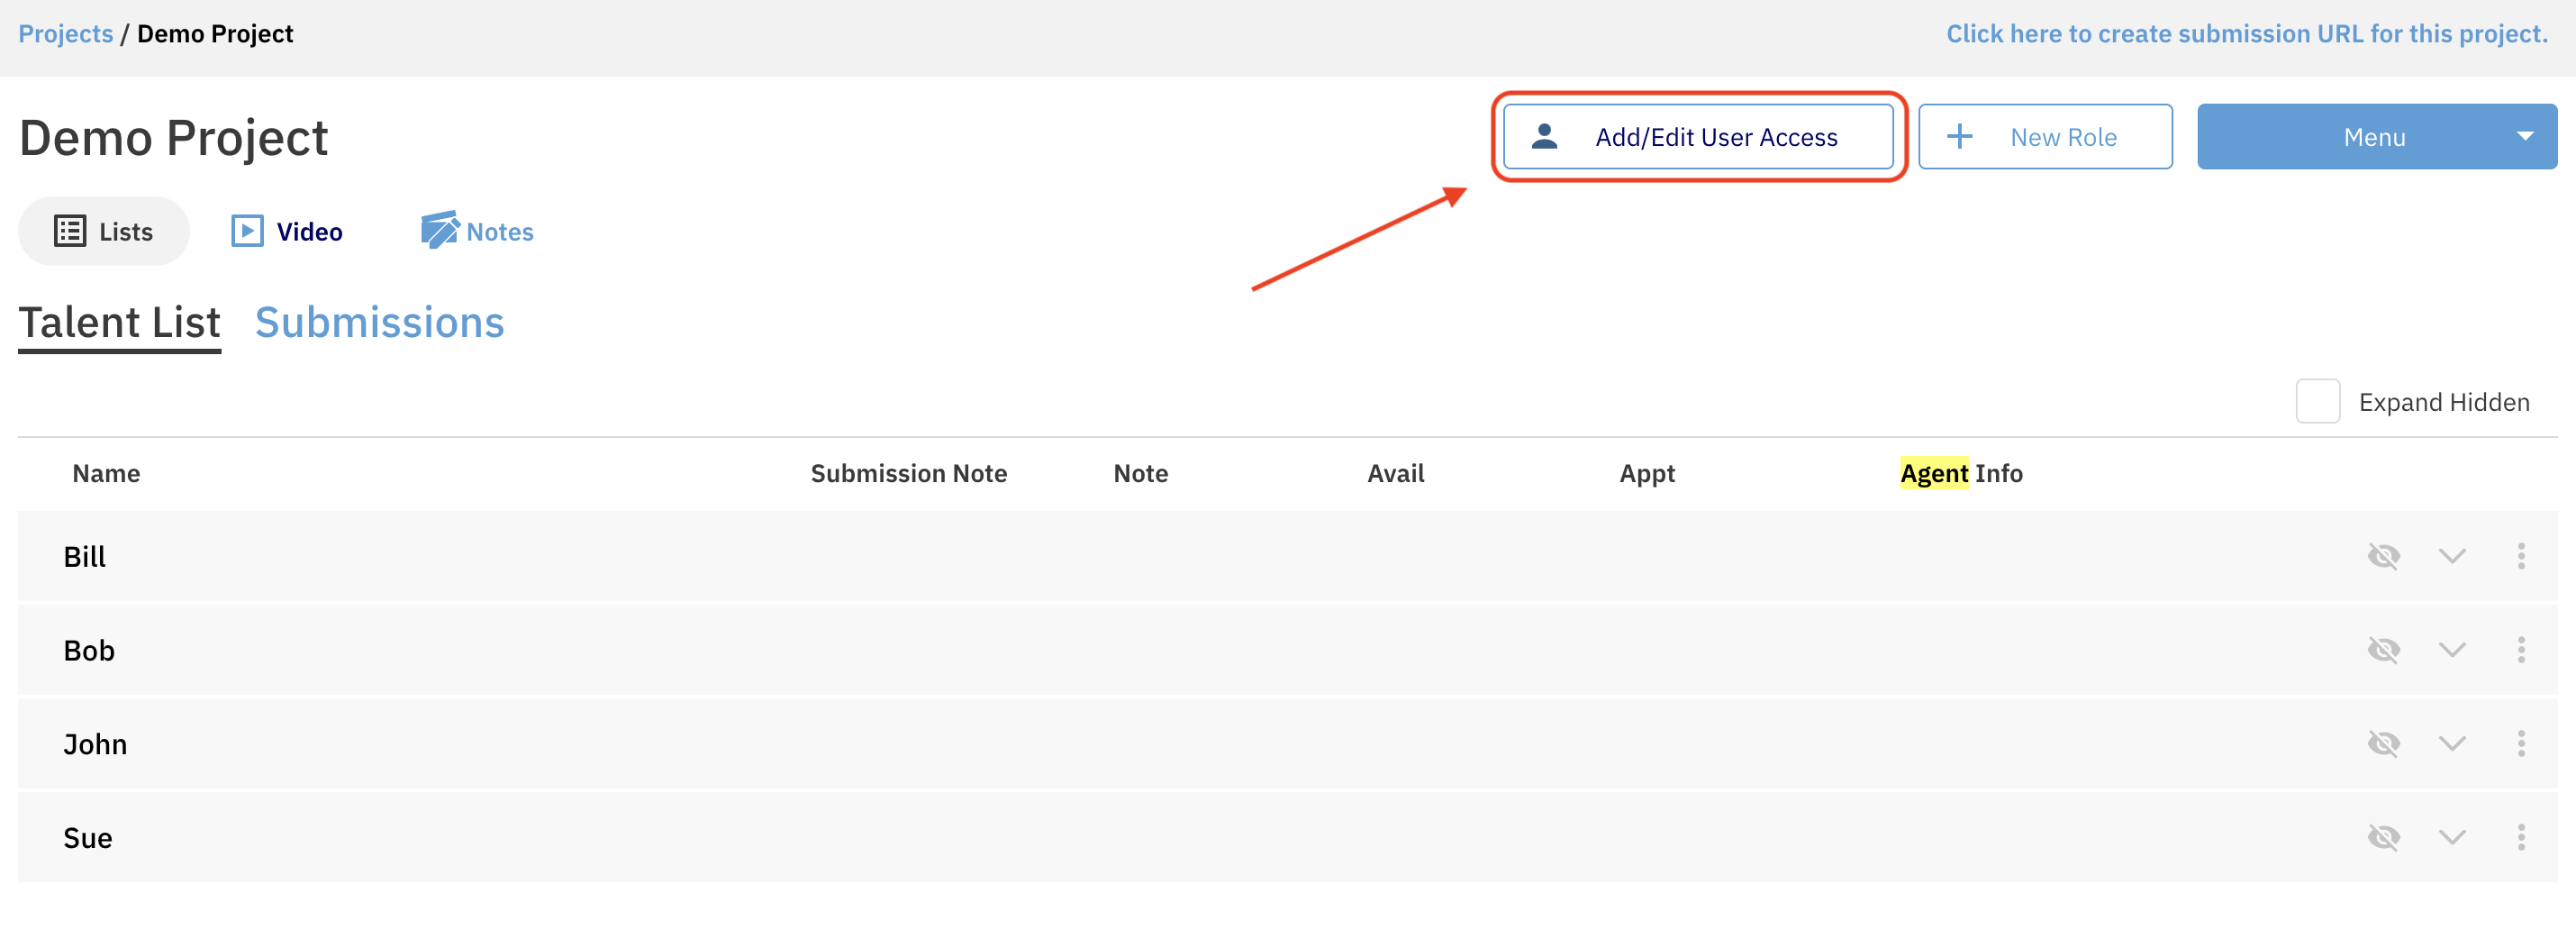
While in the project on the lists page, navigate to Add/Edit User Access.
Navigate to the Roles tab.
Adjust each role's access level via the drop-down menu.
Tip: You can also filter roles by their current access levels to quickly see how permissions are distributed.
How to Set a User's Access Level
Setting Access on a Project
Any user with Administrator Access can give a new user access to an individual project (or episode) or an entire Series. You can even create a user account for someone who has never used Cast It before.
Note: If a user has access at the series level, you do not need to give additional episodic access.
While in the project on the lists page, navigate to Add/Edit User Access.
Make sure that you are on the Users tab.
Select Add User.
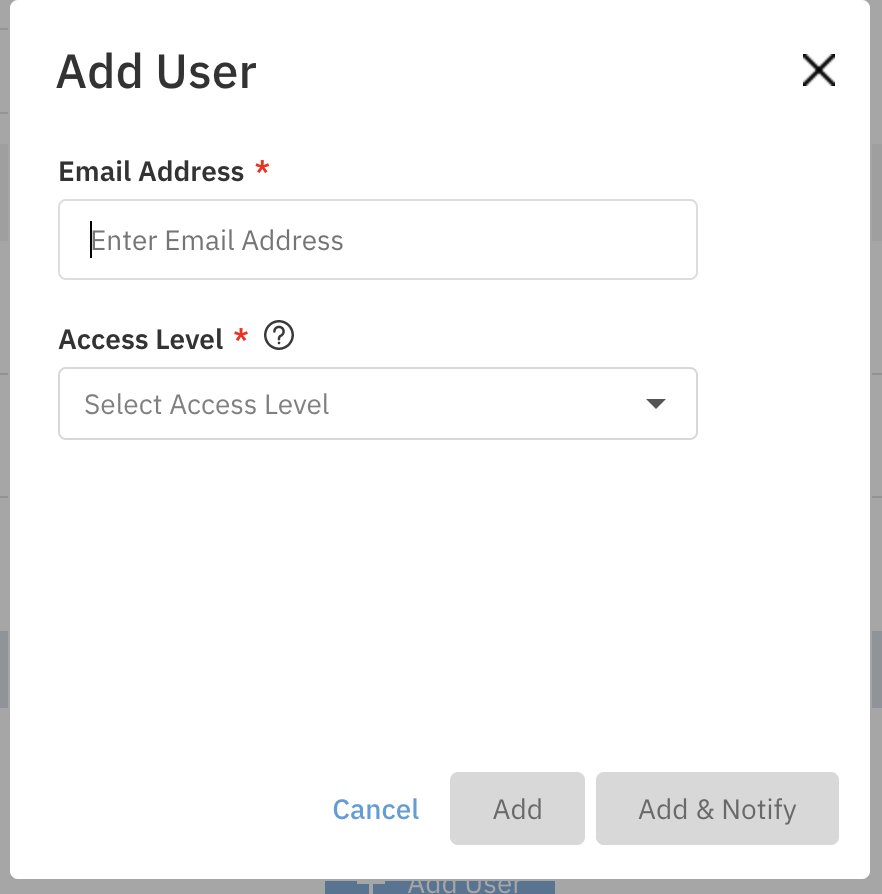
Begin typing the user's email address in the search field.
If the user exists: Choose the access level and select Add or Add & Notify.
Add & Notify will send the user an email notifying them that they have access to a new project.
If the user does not exist: You will be prompted to create an account. Fill out their first and last name and set an access level.
You can edit or delete a user's access level at any time from this same menu.
Setting Access on a Series
Setting a user's access level to an entire series is very similar to the project level steps.
Open an episode in the series and select Add/Edit User Access.
On the user access page, select Go To Series Overview.
Add a new or existing user to the series using the same steps as the project level instructions above.
The Series Overview page will show you all users and access levels for the Series level AND for the episodic level. Navigating to the Episodes tab will display each episode within the series and list the number of users connected only to that specific episode.
Location Casting Access
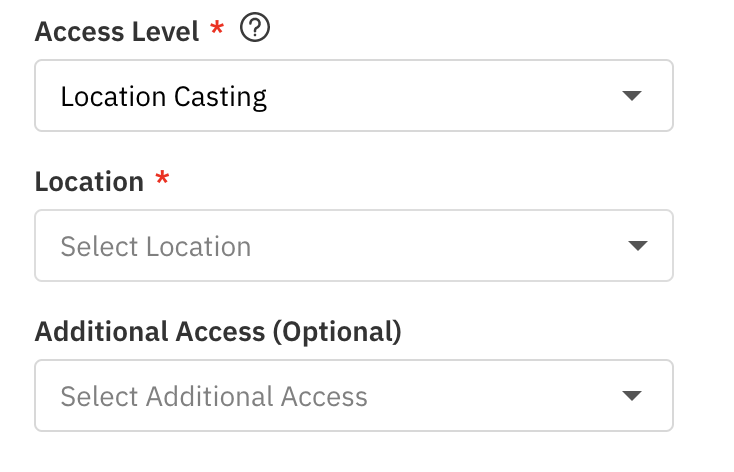
For location casting, this access level allows the user to create roles and upload to the project, but they can only view the roles and videos that they create. Users with this access level must provide a location name, which will be added to every role they create.
How to Add a Location

On the User Access Page in the project, select Add Location on the far right.
When adding a user as Location Casting, you will now be prompted to select the location.
Stacking Permissions for Location Admins
Users with Location Admin Access can be granted an additional access level. Since Location Admin Access usually restricts viewing to their own uploads, you can stack permissions to allow them to see other content.
On top of Location Admin, they can be granted:
Auditions Access
Review Access
Approval Access
With these additional access levels, they will retain Administrative Access for their own videos but will have one of the view-only access levels above for all other videos on the project/series.
Example: A user set to "Location: Barcelona" plus "Review Access" has full administrator access to any roles created under the location Barcelona, and will additionally have the ability to view any other roles set to Review access.
User Access Levels on a Company Account
These access levels are associated with the user/login itself, rather than specific projects or series.
Site Admin: Automatically given Administrative Access to all projects/series hosted by the company they are associated with. They have access to the Admin tools located at the top of the account and the main Bulk Uploader (located on the Project List Page).
Site User: Not granted access to any projects or series automatically. They must manually be granted access to any project or series on which they are working. They do not have access to the Admin tools or the main Bulk Uploader.
Multi-Site Admin: Grants a user Site-Administrator access to multiple accounts/companies. They can switch between these company accounts with a dropdown menu on the top right of any page.