CASTING DIRECTOR: How Do I Share Audition Videos?
This article explains how to share audition videos with external users using the Quick Link or Email Project Videos features. It covers creating new links, adding clips to existing links, and managing link settings.
After adding or receiving audition videos from talent within your Cast It Project, you have the flexibility to share these videos with external users through a shareable link. Utilize either the Quick Link feature or the Email Project Videos feature to distribute your content efficiently. Both options offer similar functionality and provide the ability to tailor the viewing experience for your clients.
The shared links from Cast It are dynamic "live links," which means that any modifications you make on your end will be instantly reflected for viewers who already possess the link. These links can be copied and pasted into your own emails or sent directly through the Cast It platform.
Email Project Videos
Steps:
Login to your Cast It Profile.
Click into the project whose videos you want to send out.
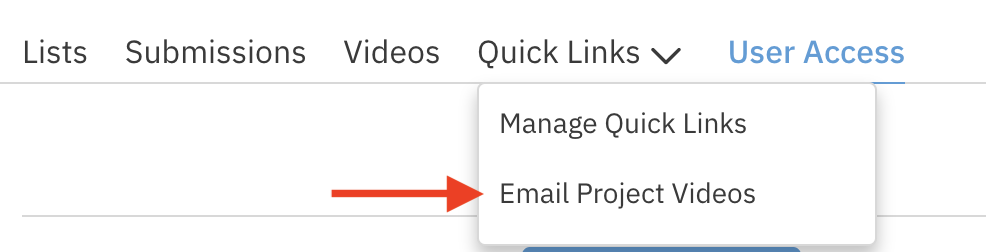
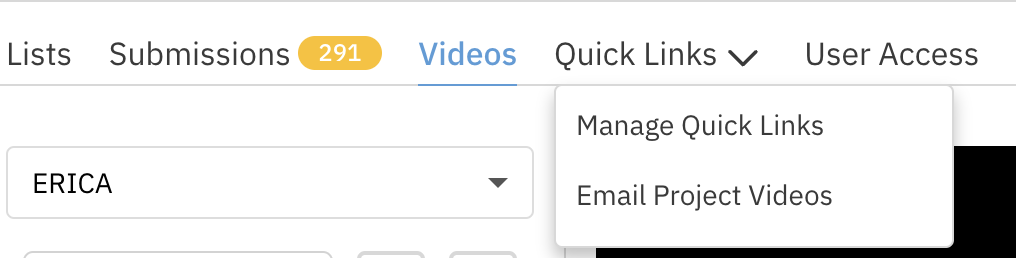
Click on the Quick Links drop-down menu located on the Project Navigation, and select the Email Project Videos option.
If you want to send ALL clips from ALL roles, select the Select All check box.
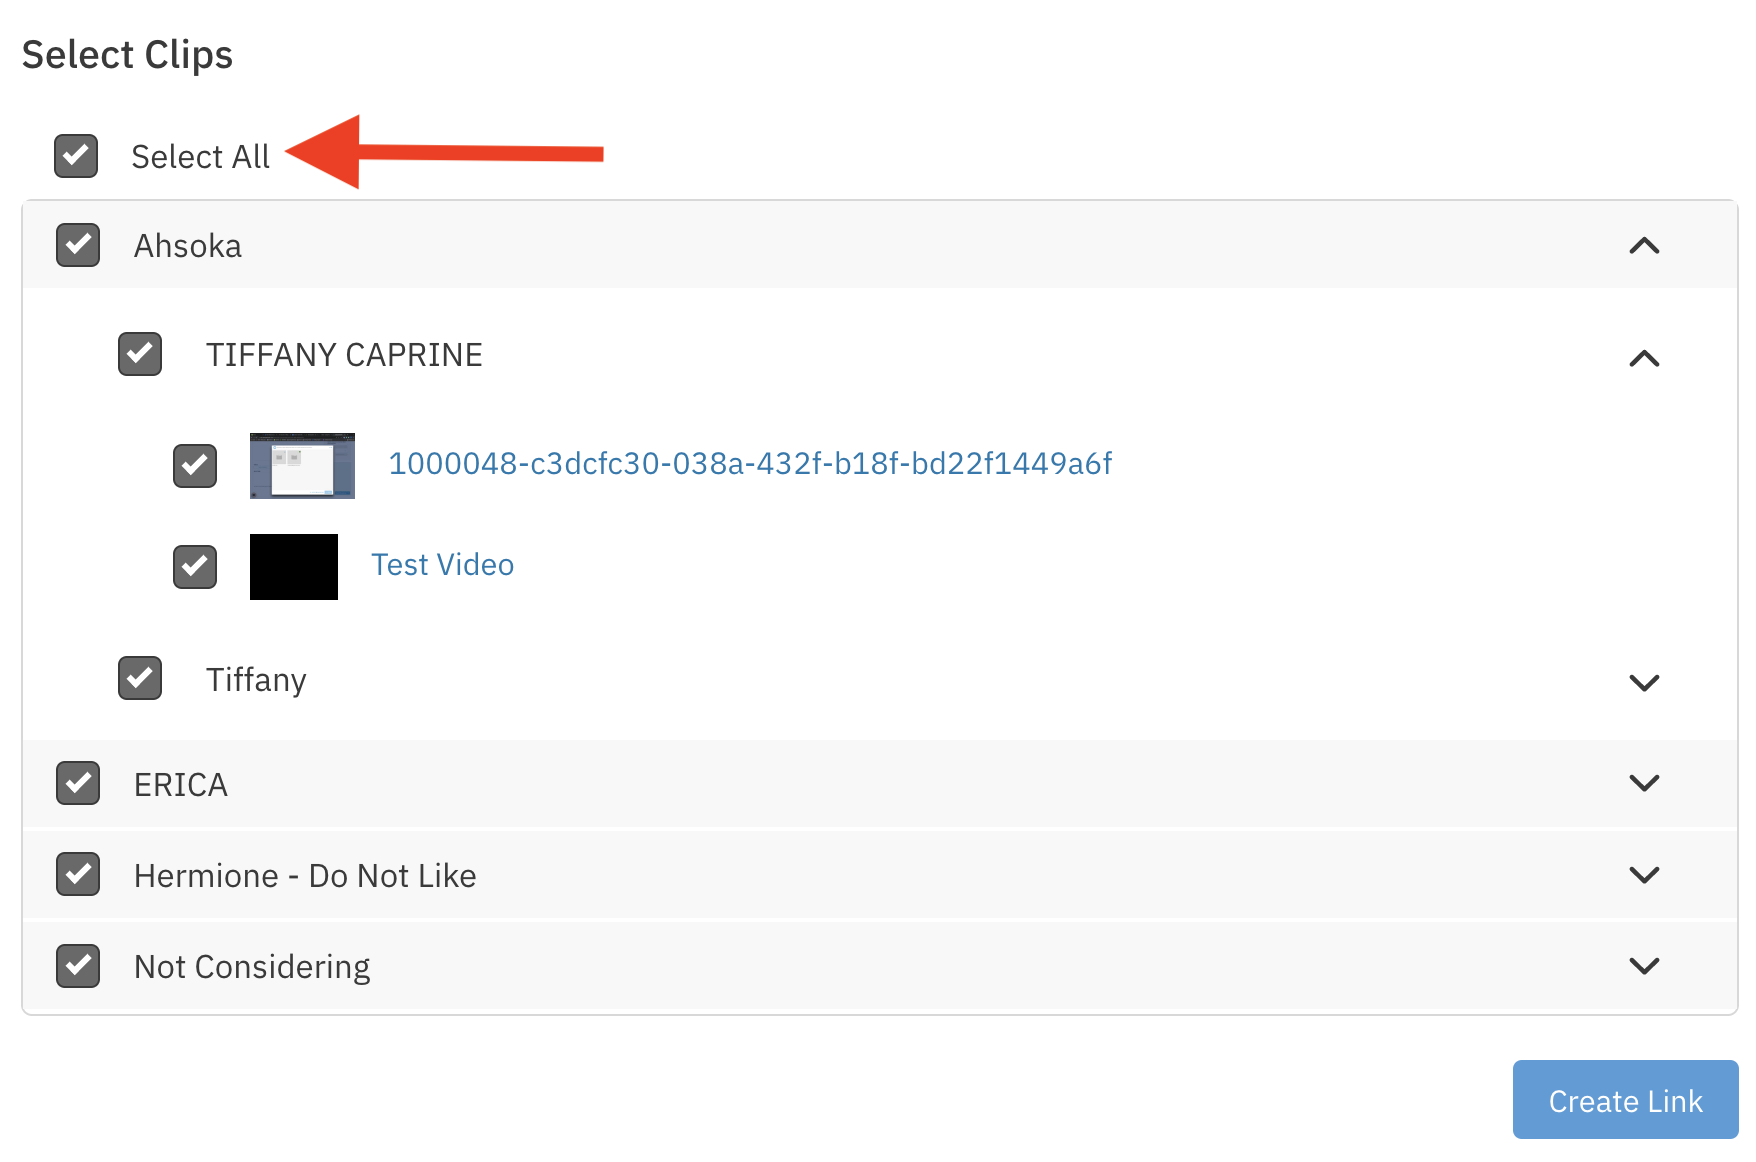
If you want to send a specific Role’s clips, select the box next to the Role Name.
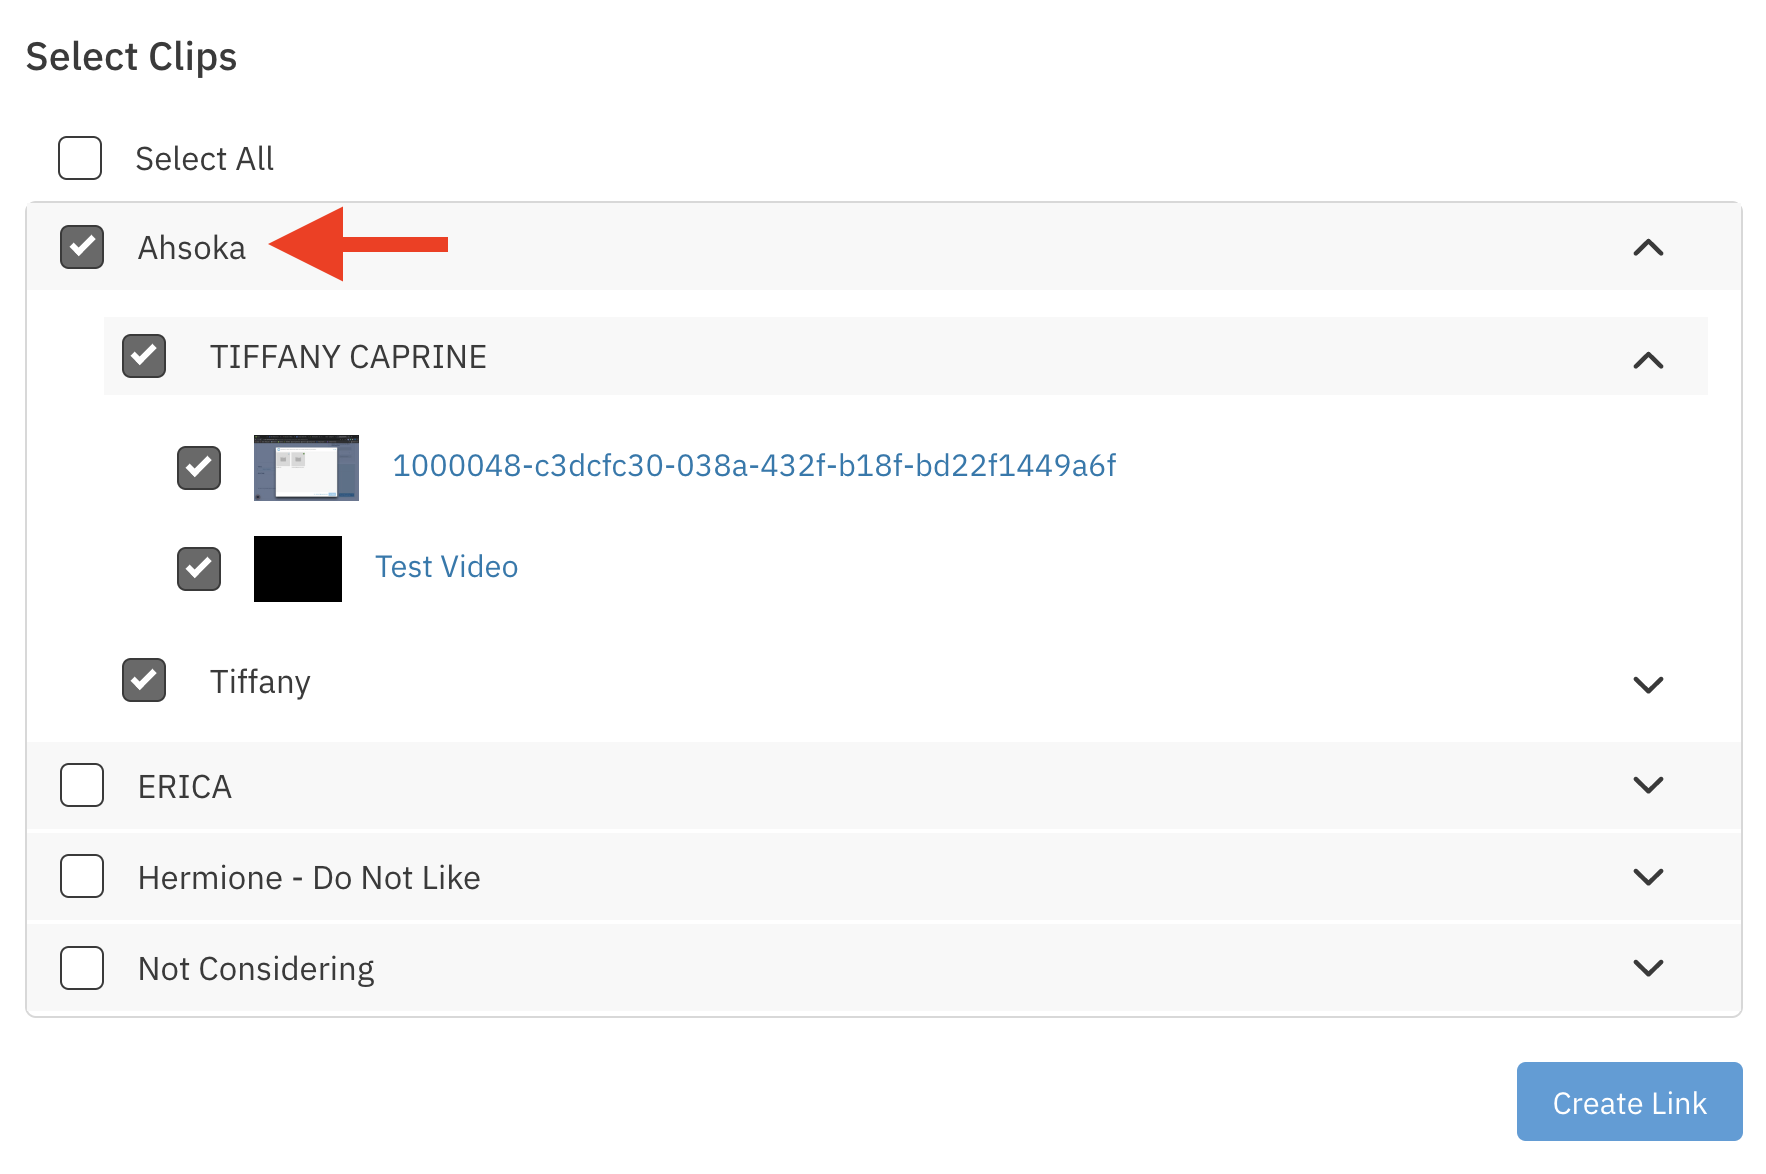
If you want to send specific Clips, select the boxes next to the clips.
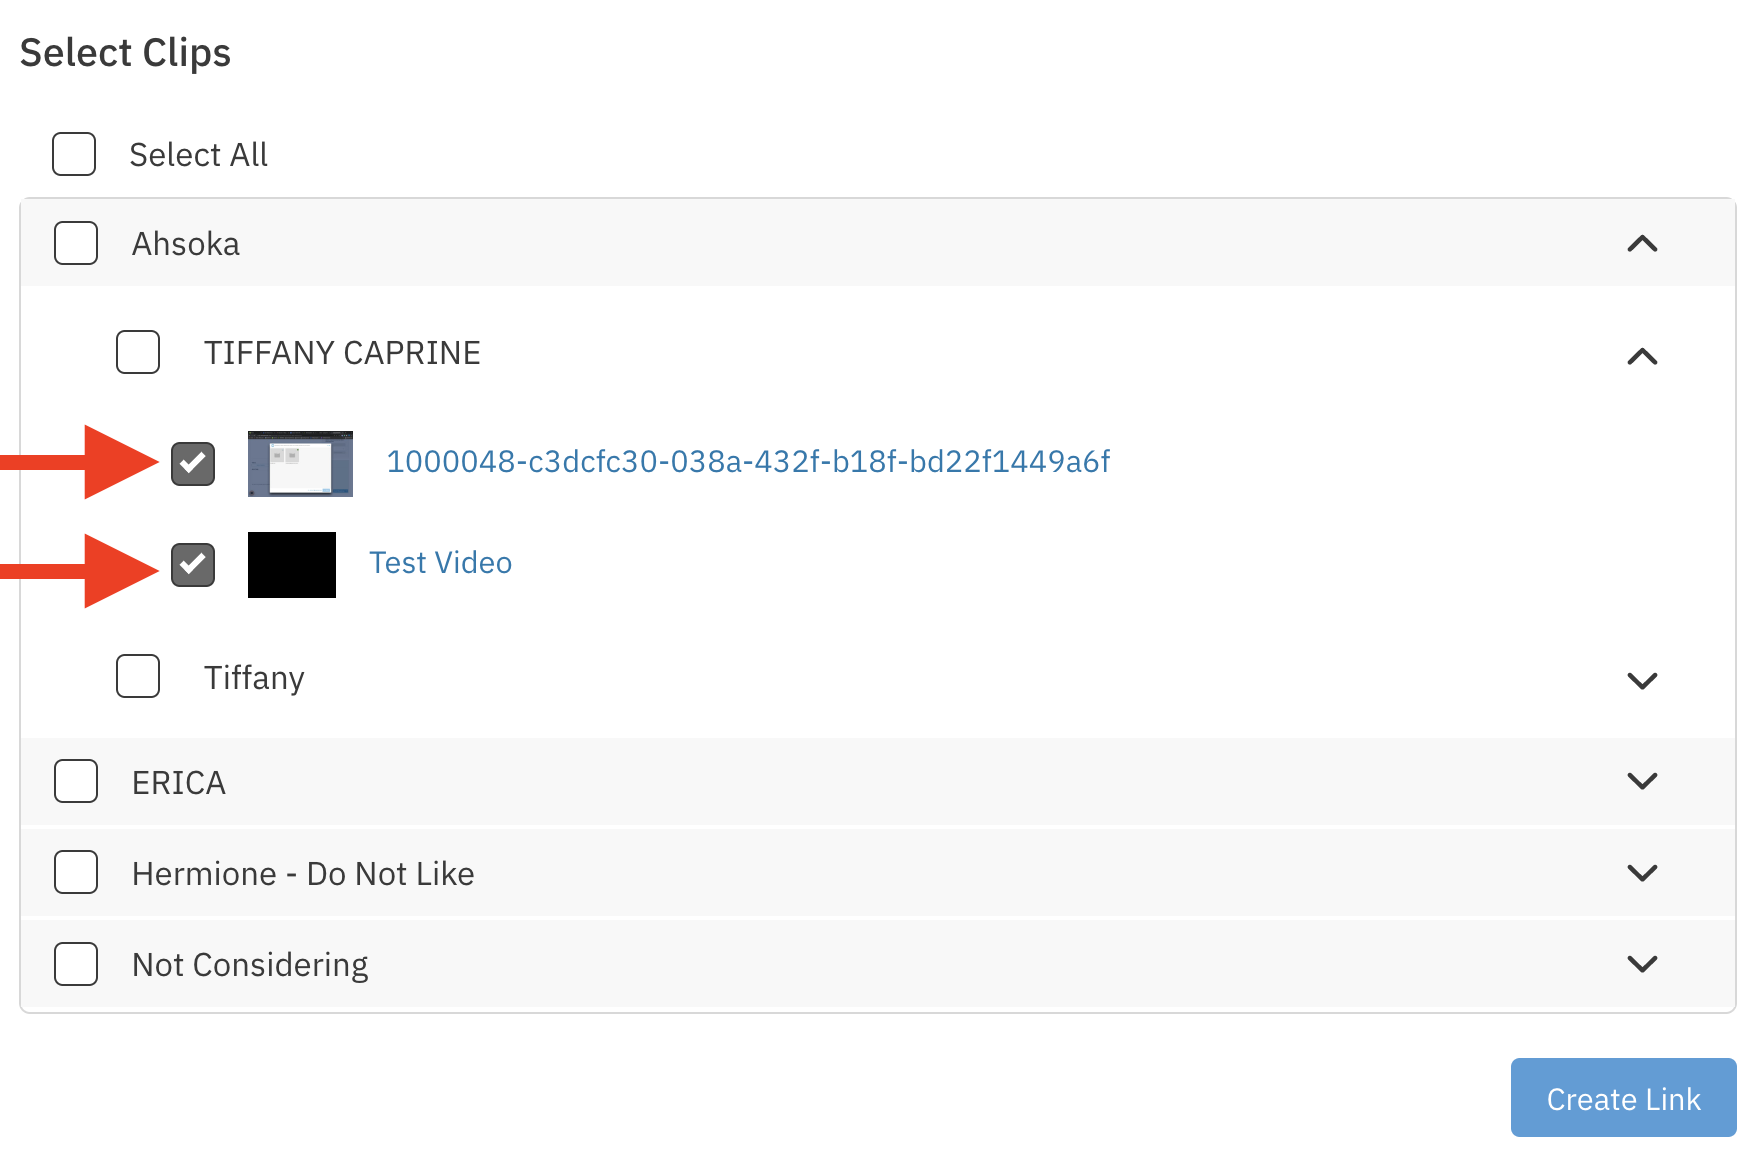
Select the blue Create Link button.
Enter a Link name and then press Save.
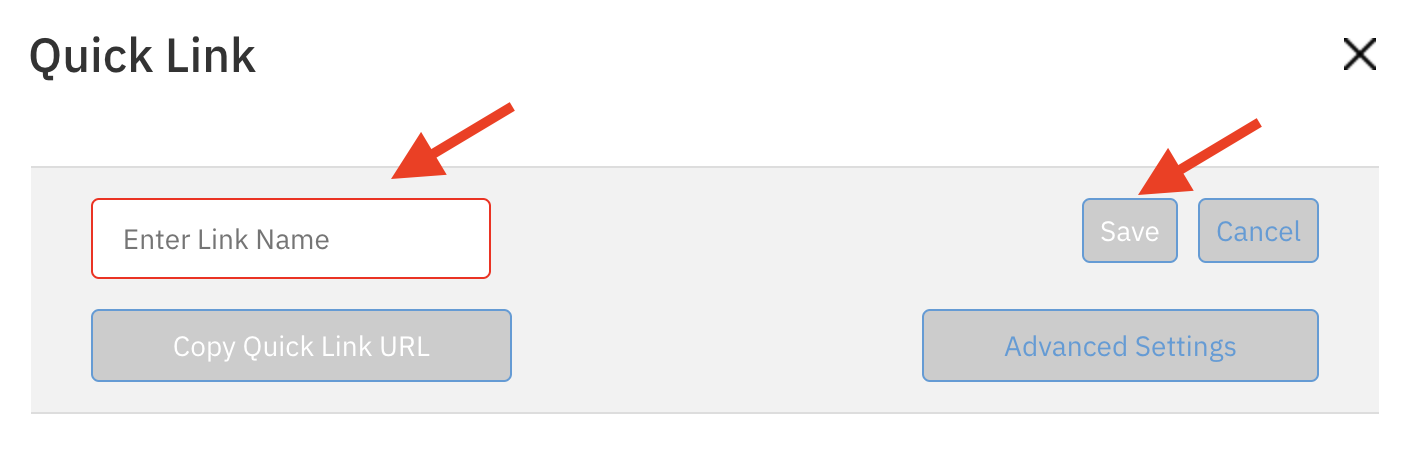
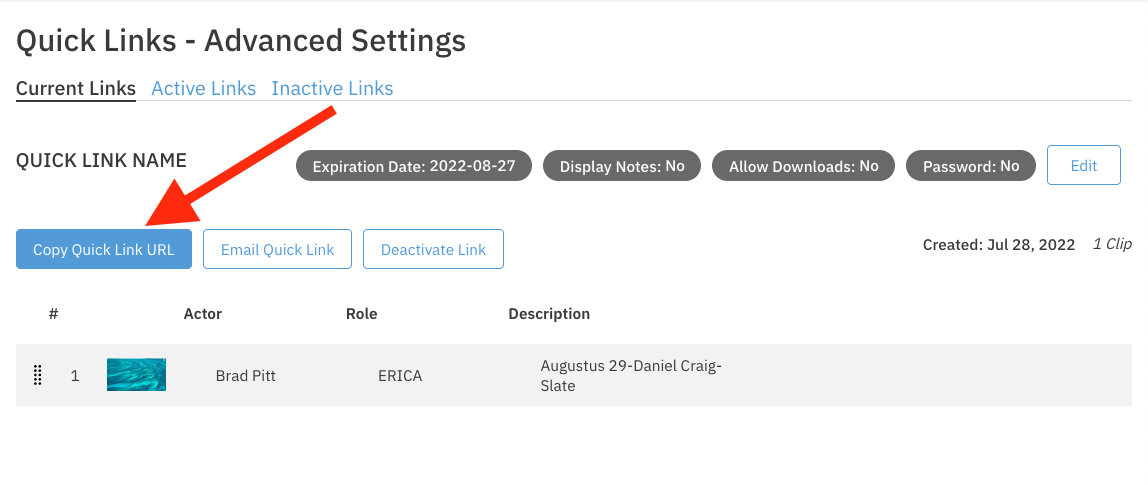
To copy your quick link to paste in an email, you can select the Copy Quick Link URL button. You can also edit the link settings by clicking on the Advanced Settings button.

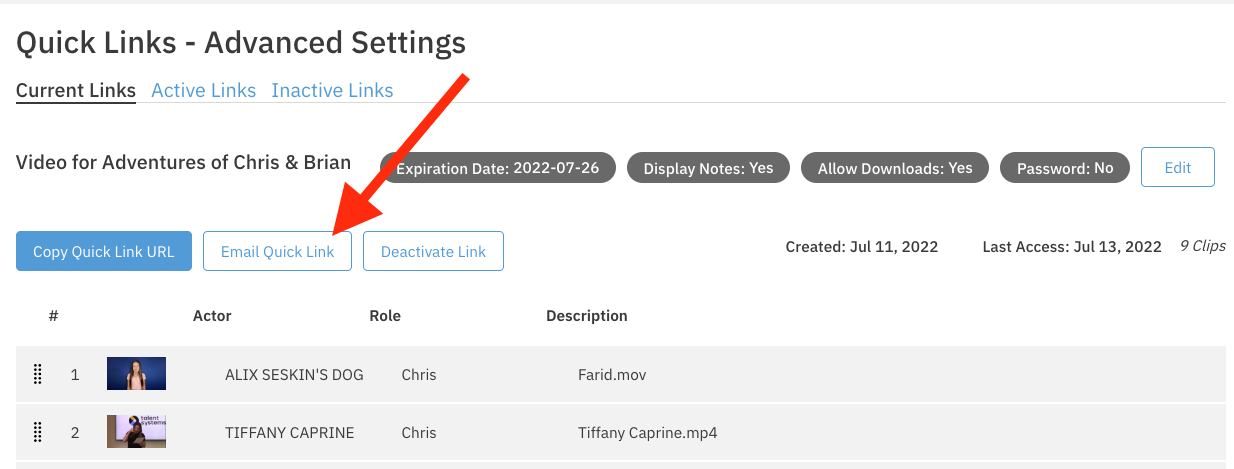
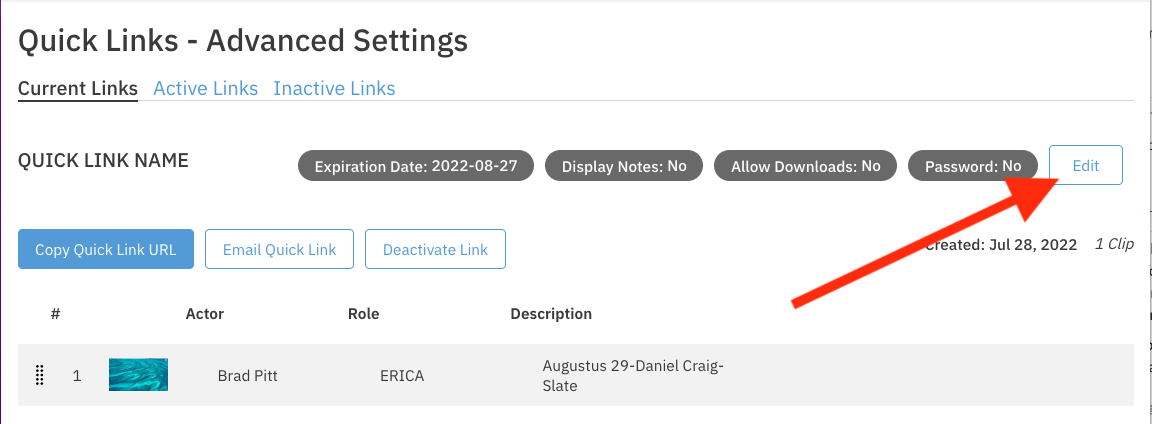
Now that you're on the "Quick Links - Advanced Settings" page, you can edit your link settings by pressing the Edit button.
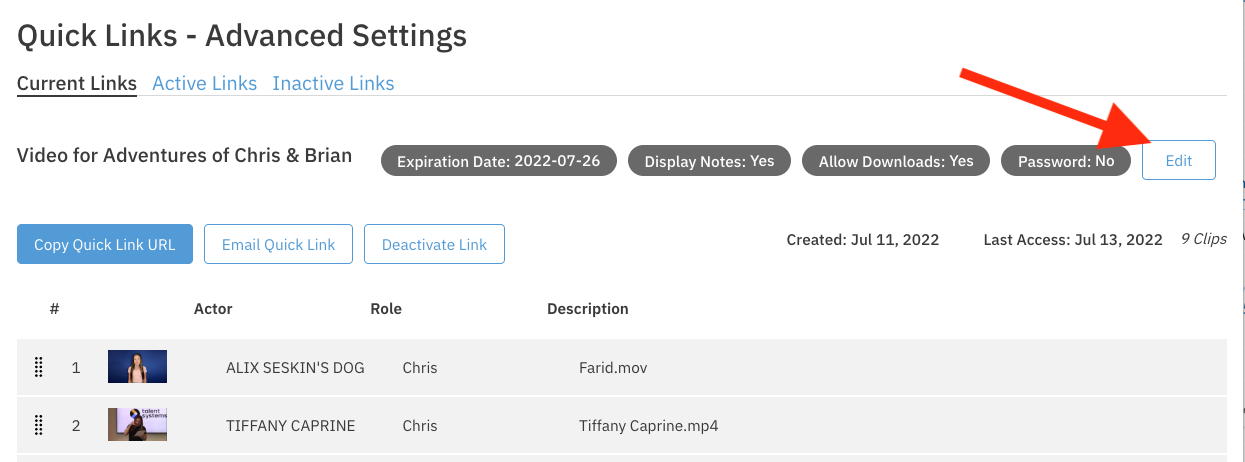
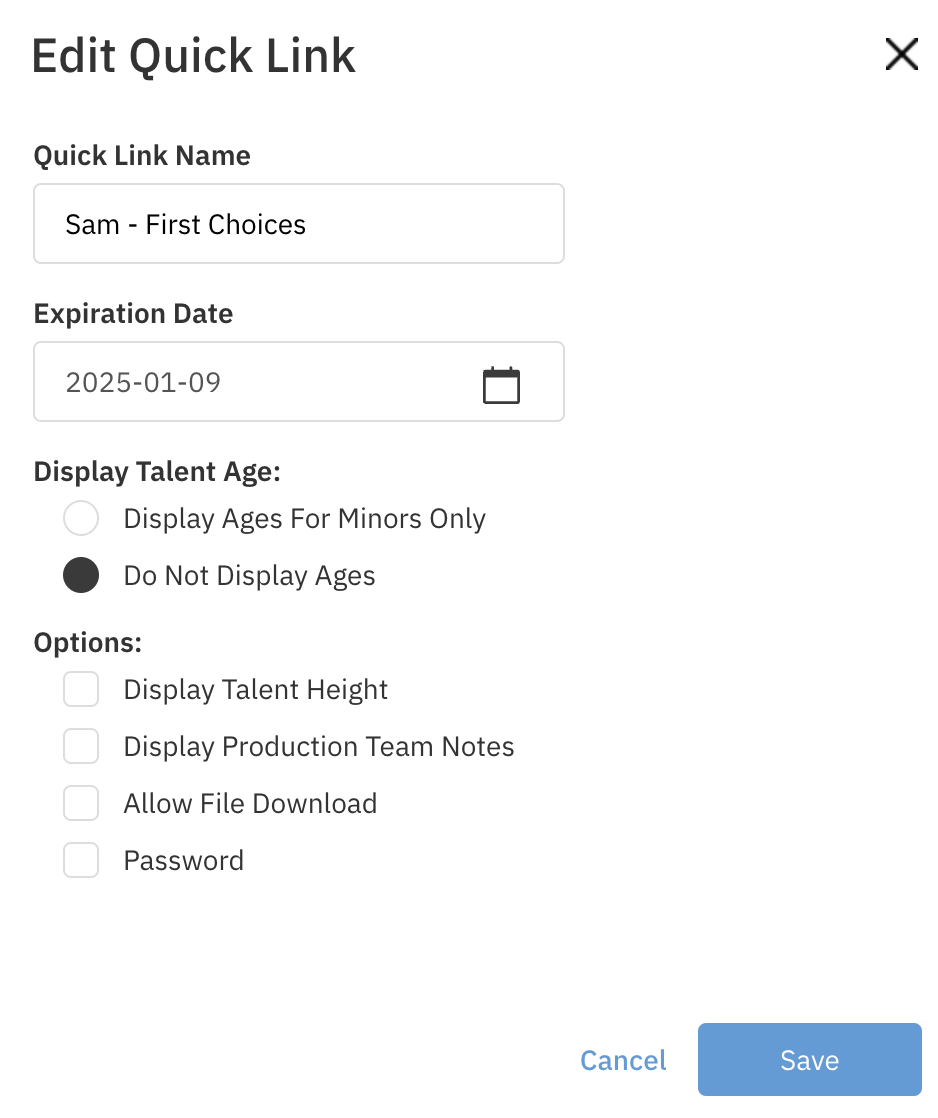
You can edit the following link information, and then press Save:
Quick Link Name
Expiration Date
Display Talent Age (Minors Only)
Display Talent Height
Allow Production Team Notes to be Displayed
Allow Files to be Downloaded
Password Protect the Link
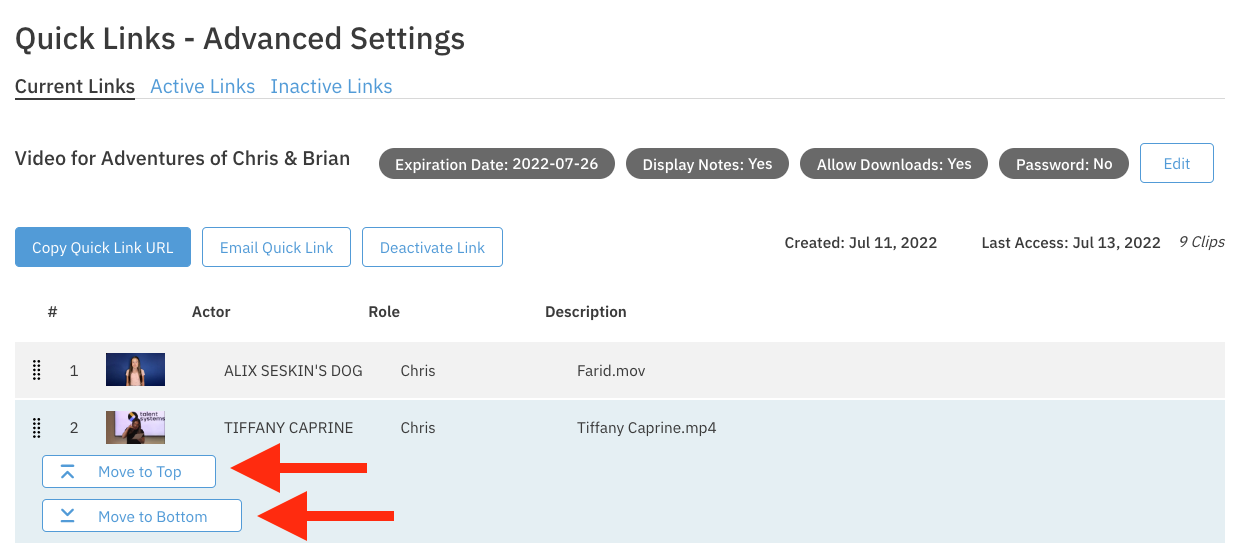
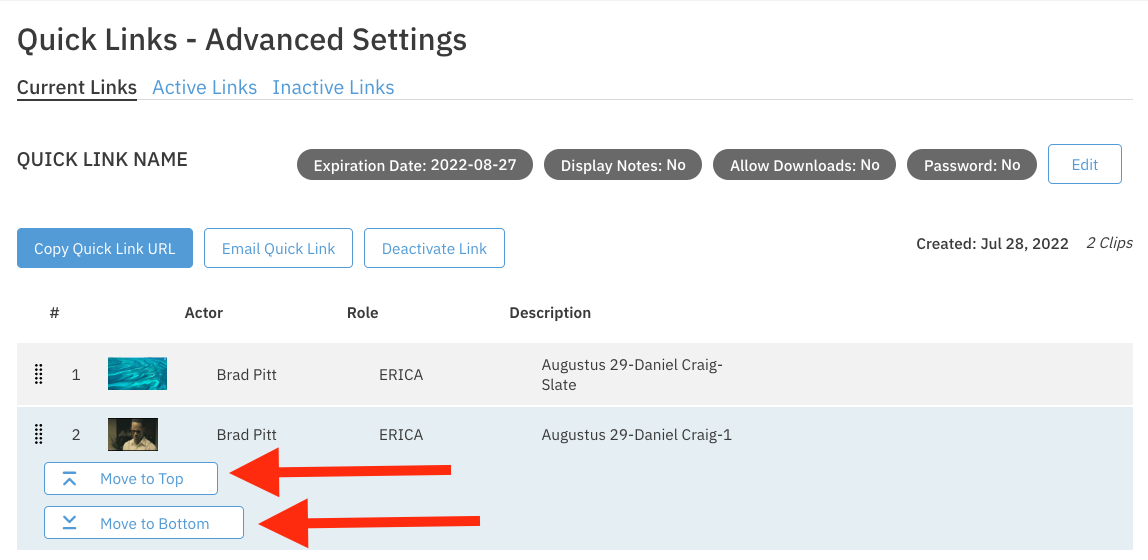
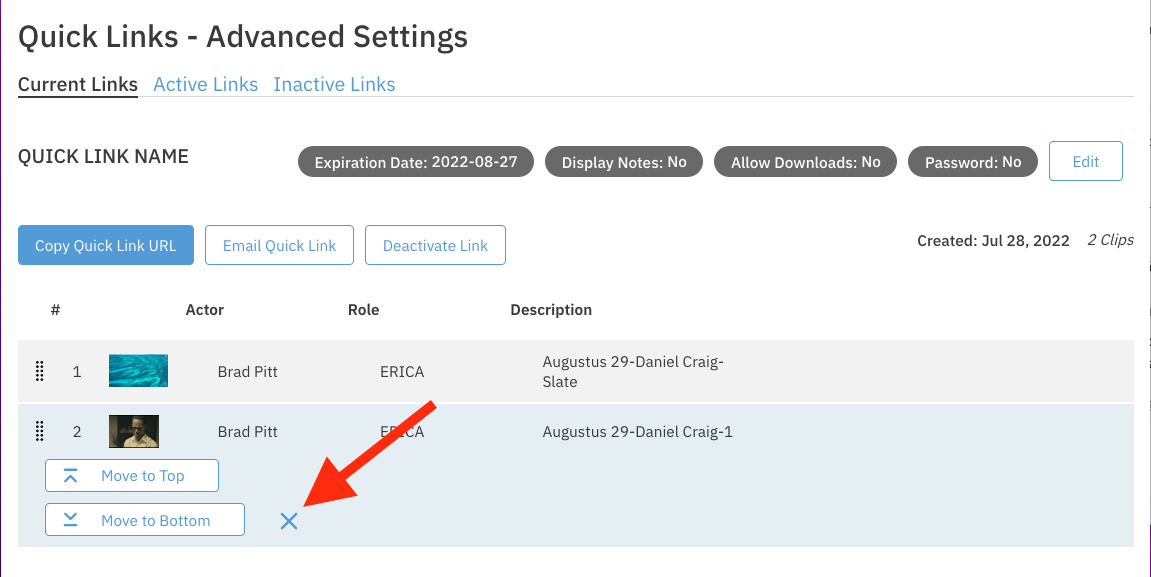
If you have multiple clips and you'd like to re-organize them, you can select the clip and elect to move it up or down in the order. If you re-organize clips in an active link, the link will automatically update to the order you set.
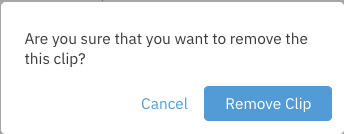
To Remove a clip, you can click on the clip and select the "X" next to the "Move to bottom" button. In the next pop up, select Remove Clip to make this final.
Note: Removing a clip from this page will only remove it from the link you are clicked into. If the clip is in other links, it will not be affected.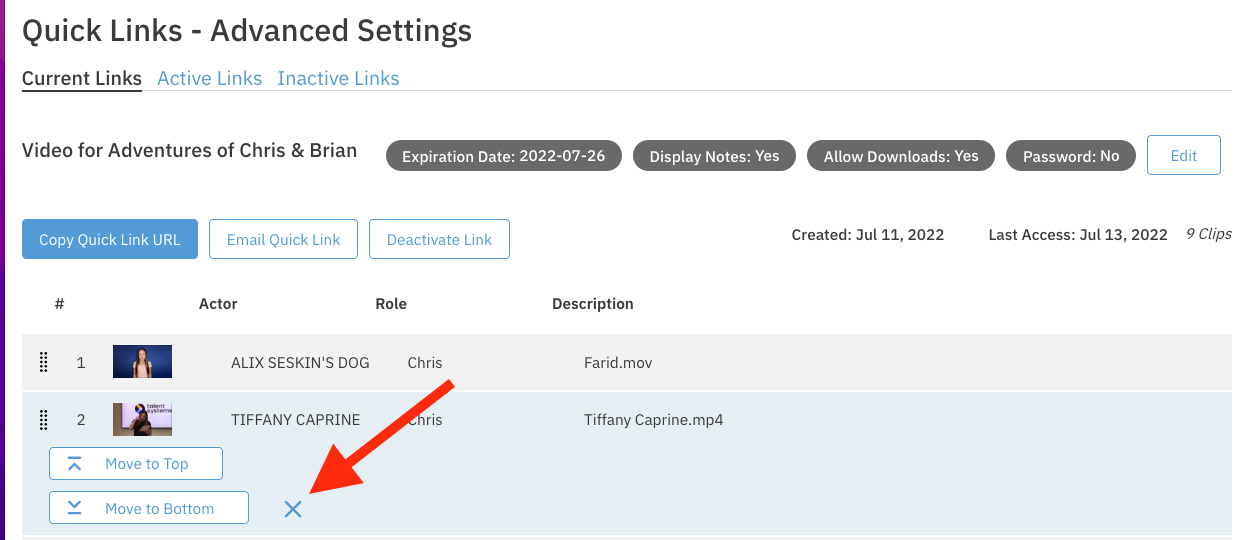

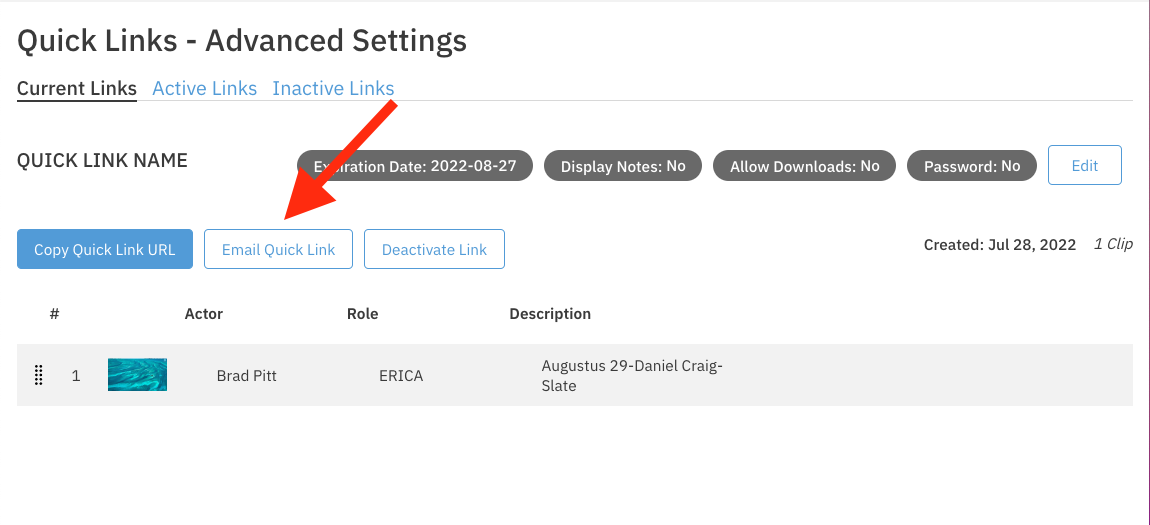
To Copy your quick link to paste in an email, you can select the Copy Quick Link URL button.
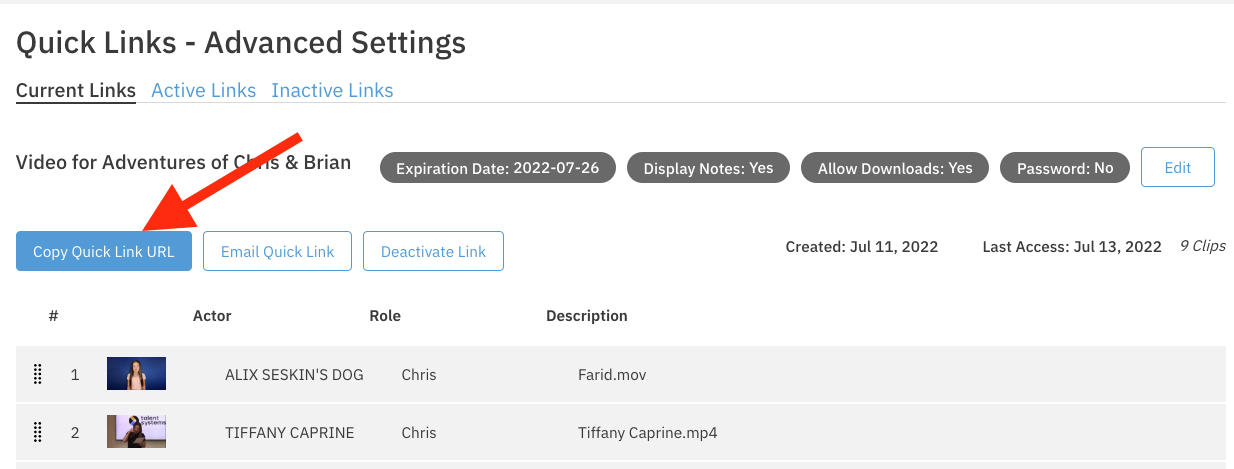
To Email your quick links, you can select the Email Quick Link button.
Creating a New Quick Link
Steps:
Login to your Cast It Systems profile.
Click into the project whose videos you want to send out.
Expand the role to see whose videos you want to send out by clicking on the down arrow to the right of the role name.

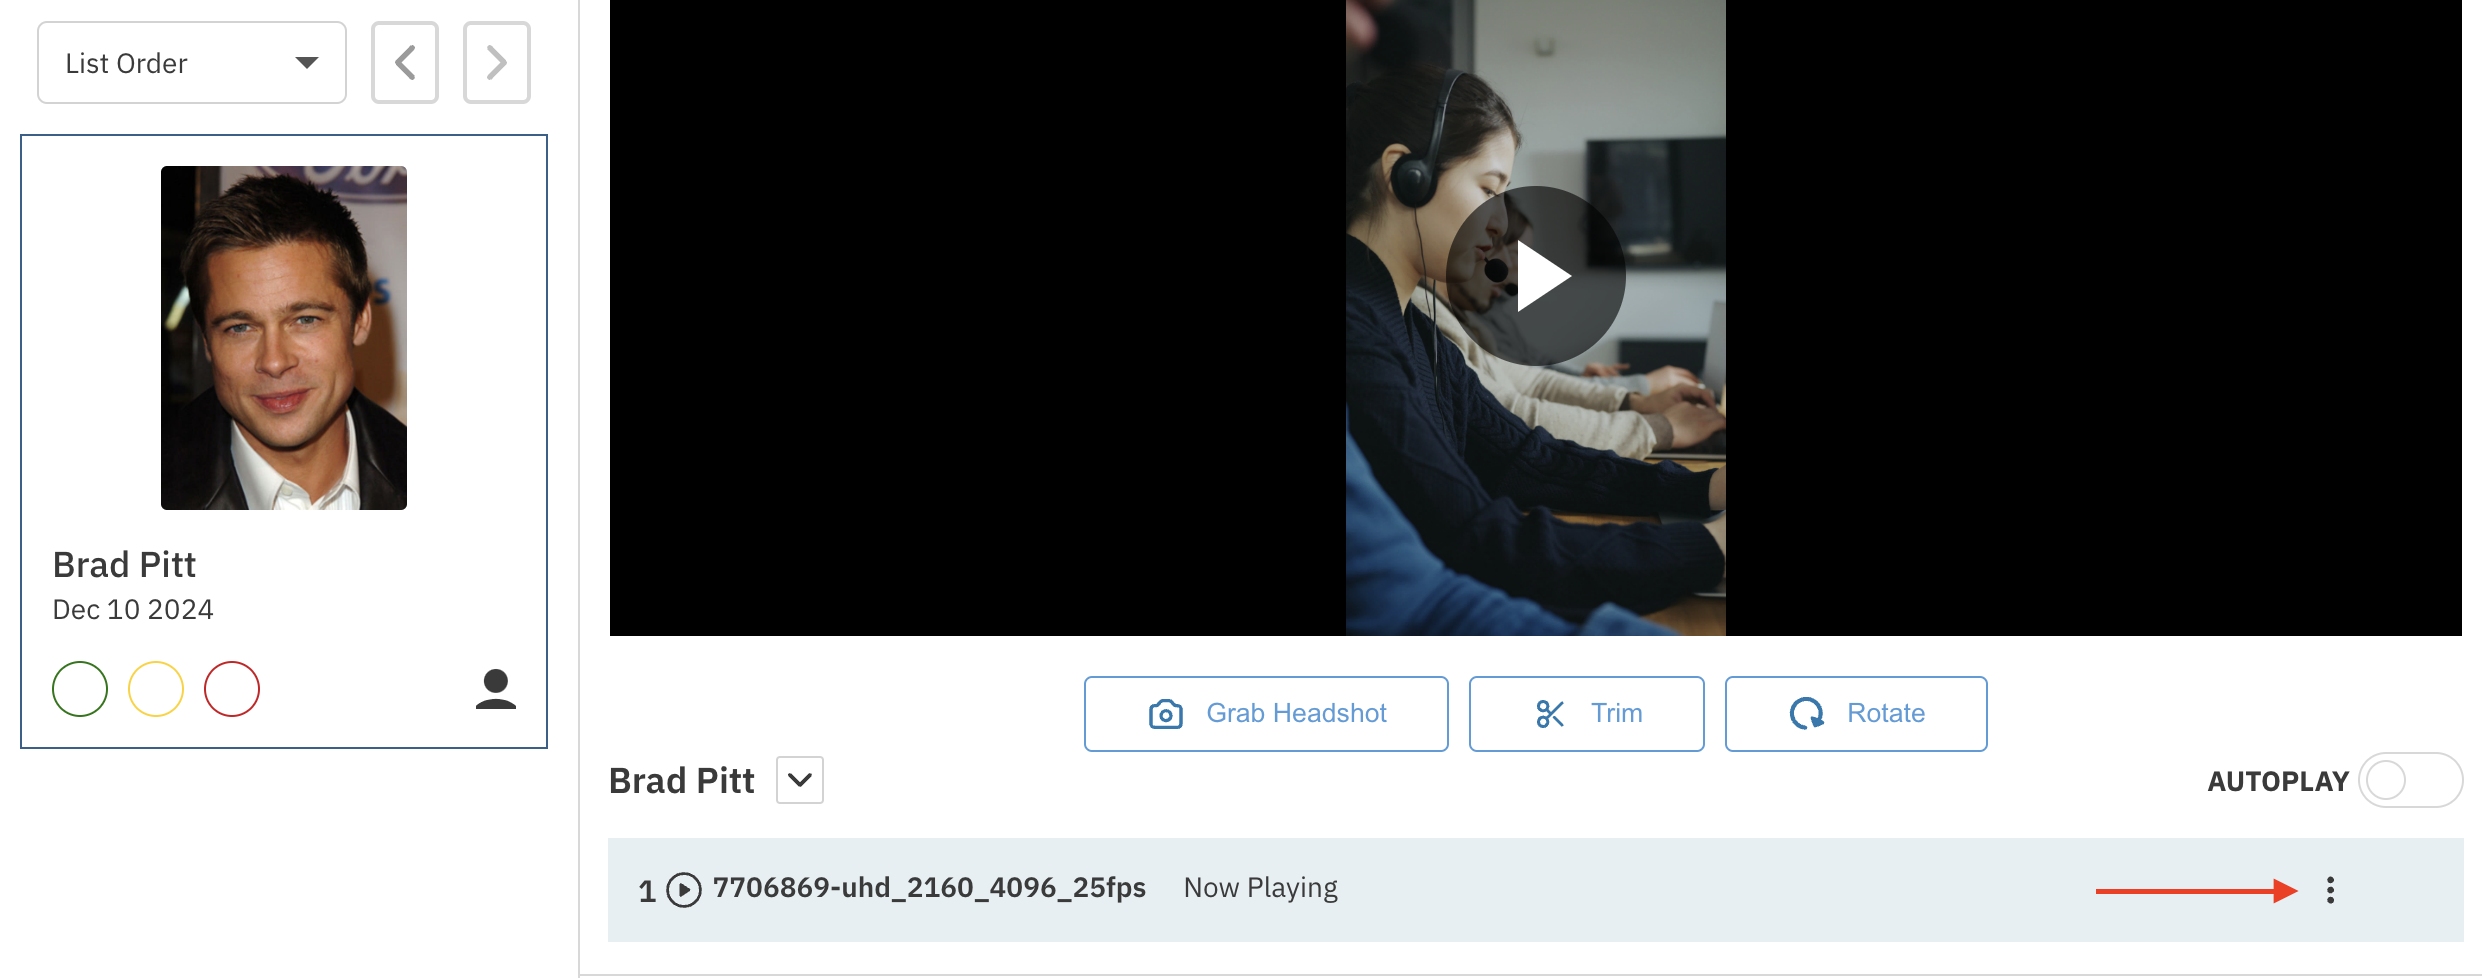
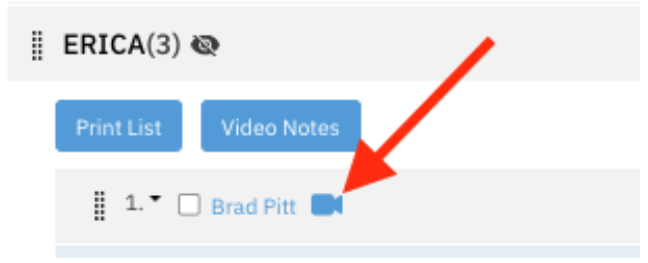
Click on the blue camera icon next to the talent that uploaded a video.

Click the three dots to the right of the video title, then select Add Clip to Quick Link.
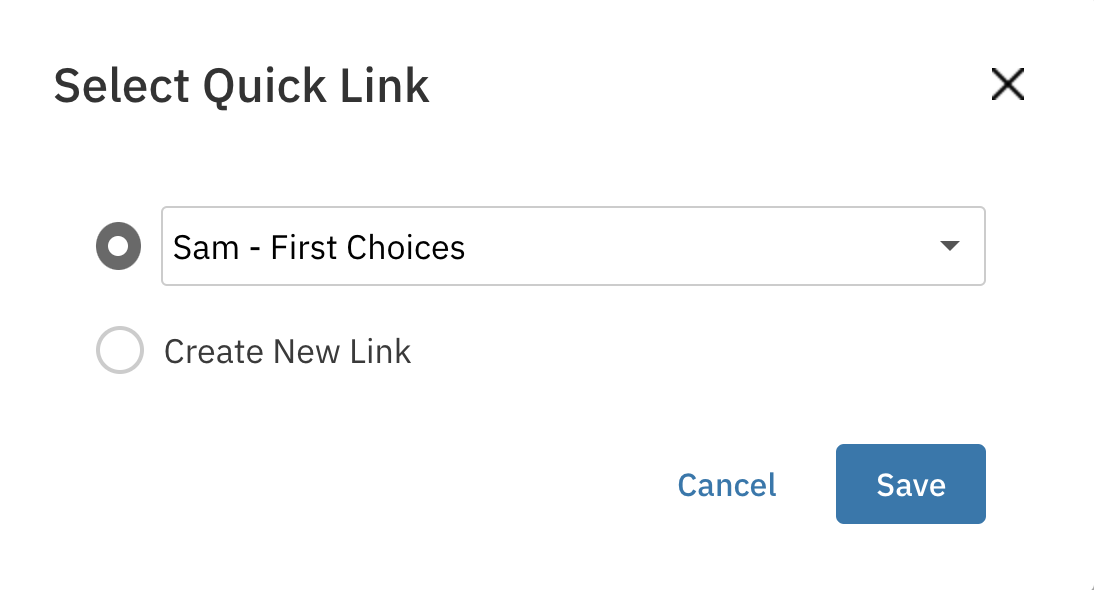
Click the dot next to Create New Link.
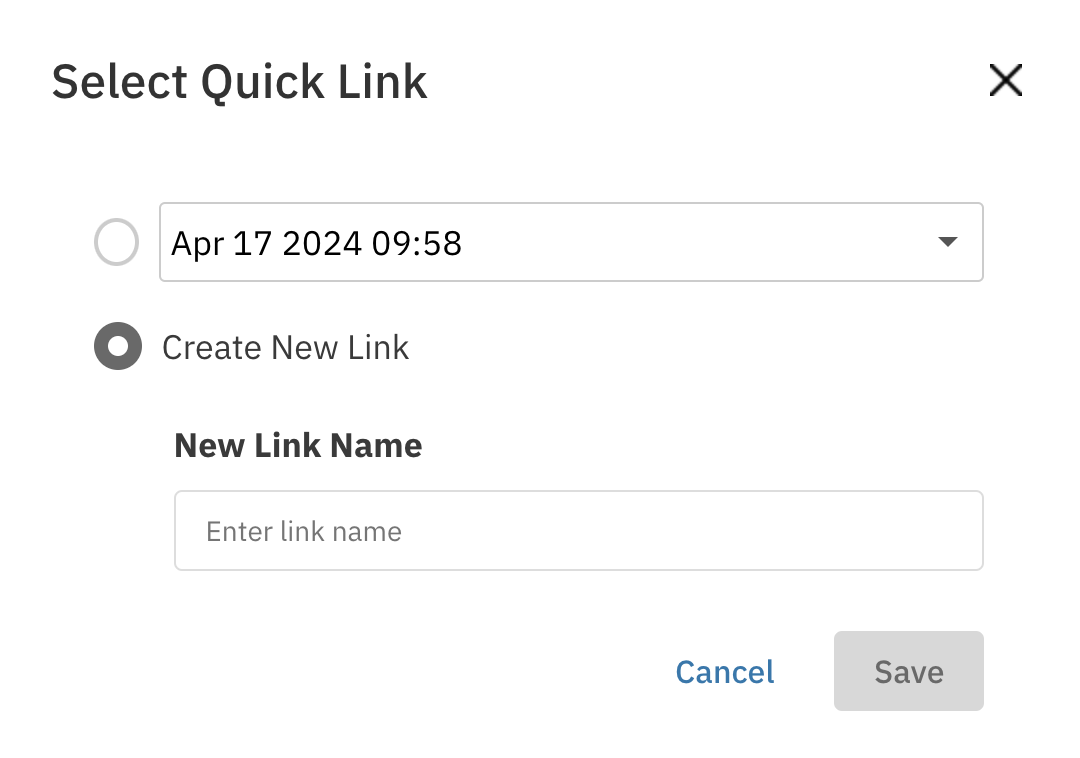
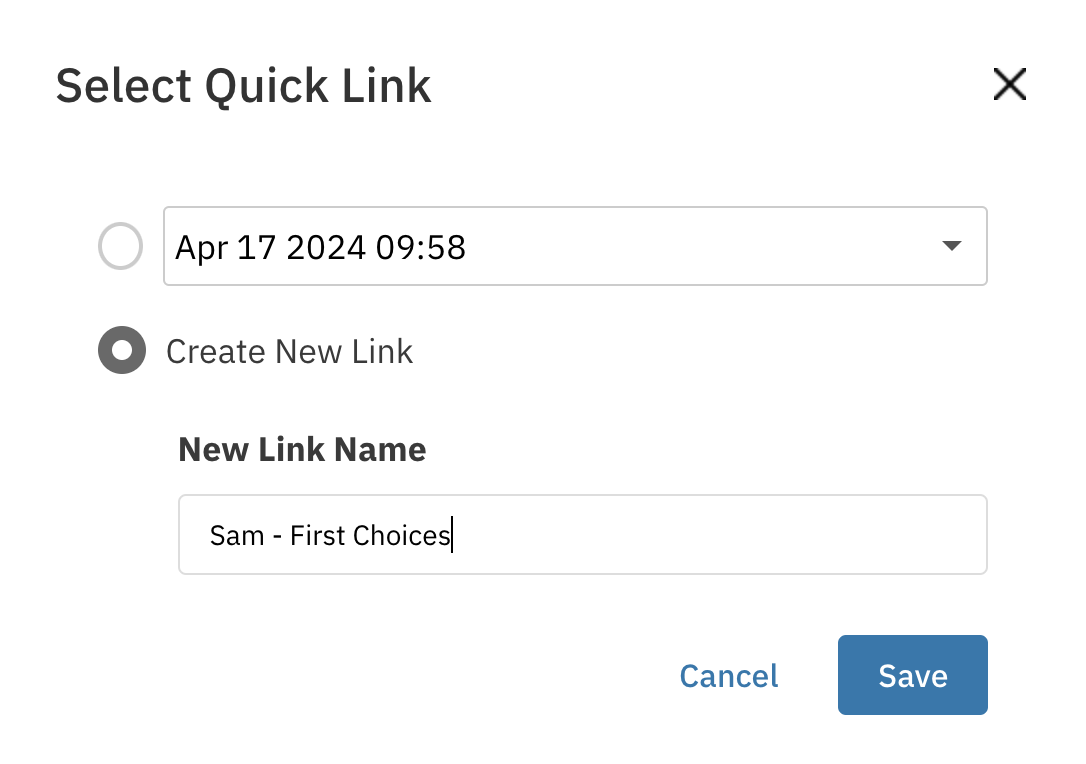
Name your quick link and press Save.
Once you've named your link, you can now start adding clips to it. On the videos page, press the three dots to the right of the video you'd like to add to the link. Select the "Add Clip to Quick Link" option. From the dropdown, select the link you'd like to add to. (Tip: You can type the name of the quick link to find it fast!)
Press Save. This will add the video to your link. Repeat this process for all clips that you'd like to add to your link.
After you've added all your clips to your link, you can now edit the link settings by clicking on the "Quick Links" dropdown at the top of the page and selecting "Manage Quick Links".

Now that you're on the "Manage Quick Links" page, you can edit your link settings by pressing the Edit button.

You can edit the link information (Name, Expiration, Password, etc.) and then press Save.

If you have multiple clips and you'd like to re-organize them, you can select the clip and elect to move it up or down in the order. If you re-organize clips in an active link, the link will automatically update to the order you set.
To Remove a clip, click on the clip and select the "X" next to the "Move to Bottom" button. In the next pop-up, select "Remove Clip" to make this final.

To Email your quick links through the system, you can select the Email Quick Link button.
To Copy your quick link to paste in an email, you can select the Copy Quick Link URL button.
Adding Clips to a Pre-Existing Quick Link
Steps:
Login to your Cast It Systems profile.
Click on the project whose videos you want to send out.
Expand the role to see whose videos you want to send out by clicking on the down arrow to the right of the role name.

Click on the blue camera icon next to the talent that uploaded a video.
Click the three dots to the right of the video title, then select Add Clip to Quick Link.

From the dropdown, select the link you'd like to add to. (Tip: You can type the name of the quick link to find it fast!)

Press Save. This will add the video to your link. Repeat this process for all clips that you'd like to add to your link.
After you've added all your clips to your link, you can edit the link settings by clicking on the "Quick Links" dropdown at the top of the page and selecting "Manage Quick Links".
On the "Manage Quick Links" page, press the Edit button to adjust settings.
You can edit the link information and then press Save.
Quick Link Name
Expiration Date
Display Talent Age (Minors Only)
Display Talent Height
Allow Production Team Notes to be Displayed
Allow Files to be Downloaded
Password Protect the Link

If you have multiple clips, you can re-organize them by selecting the clip and moving it up or down. If you re-organize clips in an active link, the link will automatically update to the order you set.

To Remove a clip, click on the clip and select the "X" next to the "Move to Bottom" button. In the next pop-up, select "Remove Clip".
To Email your quick links through the system, select the Email Quick Link button.

To Copy your quick link to paste in an email, select the Copy Quick Link URL button.

Deactivating a Link
Steps:
Login to your Cast It Systems profile.
Select "Manage Quick Links" from the "Quick Links" dropdown.
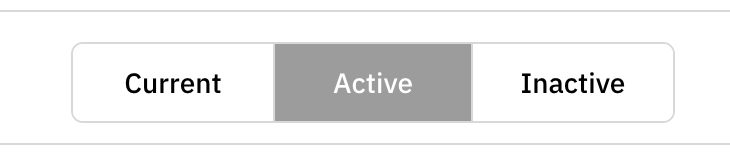
If the link you would like to deactivate isn't the current one, you can choose it from the "Active" tab.
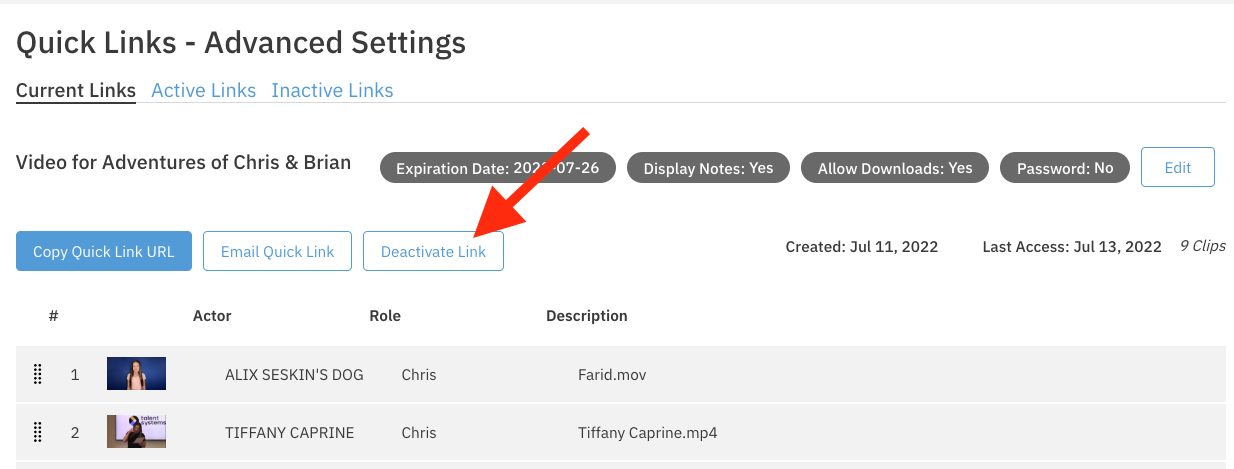
To Deactivate the link, select the Deactivate Link button.
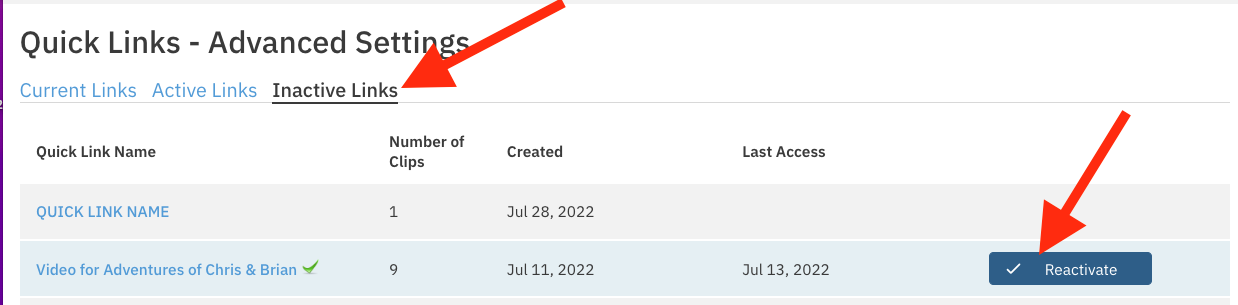
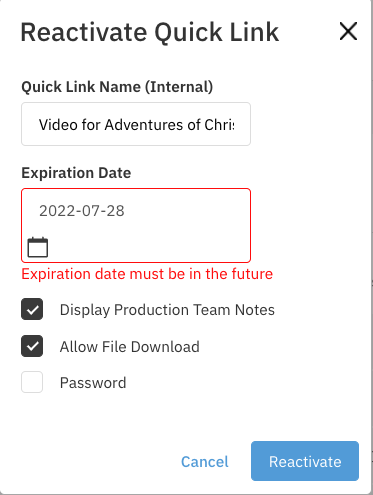
Note: Links can be reactivated by selecting the "Inactive Links" tab and then selecting the "Reactivate" button by hovering over the link you'd like to use. Once you've updated the expiration date, the link will be reactivated.